Change one part without repainting the rest.
Layers are separate transparent sheets stacked on your canvas. A mark on an upper layer appears over the layers below. In DrawingPad, you can draw online with layers, hide them, change their order and adjust how their colors combine — all without creating an account.
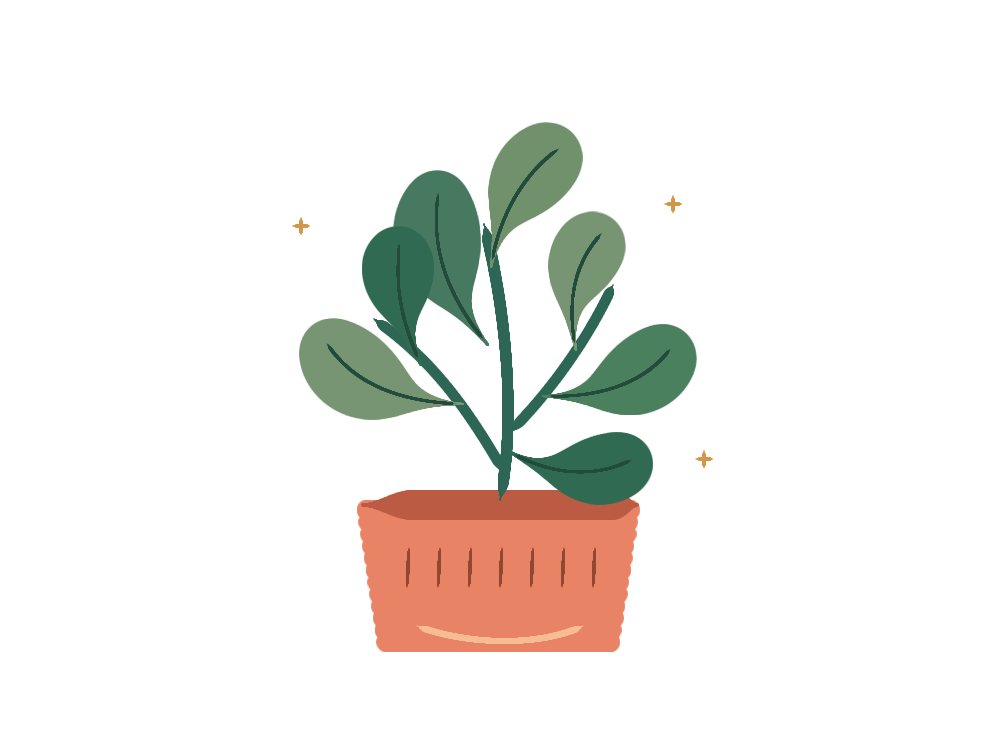
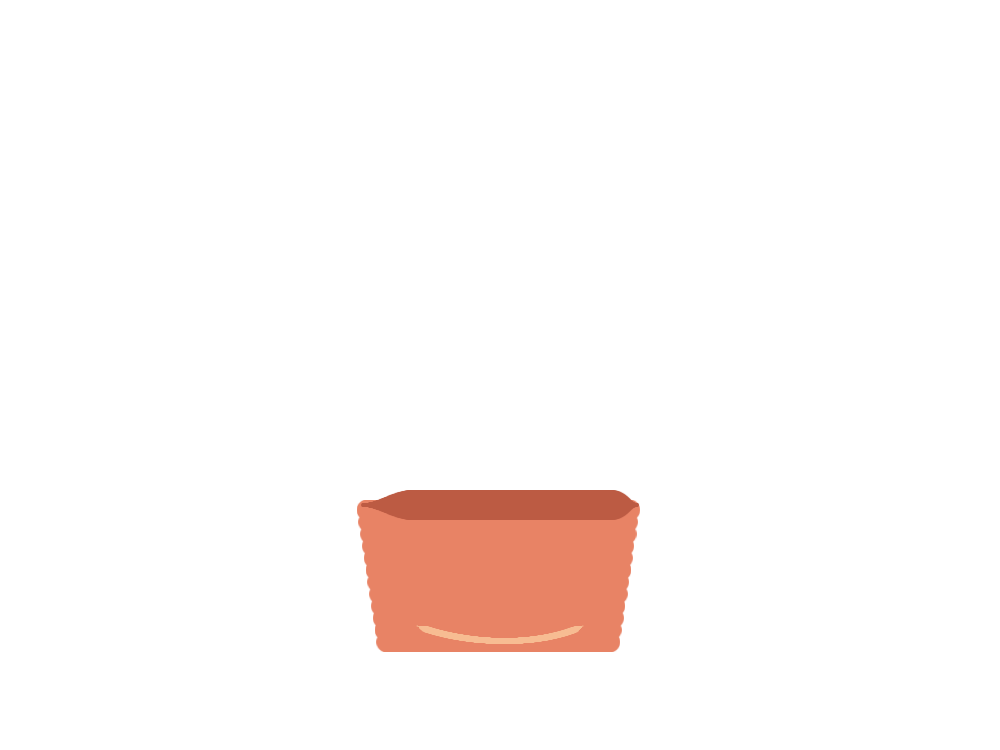
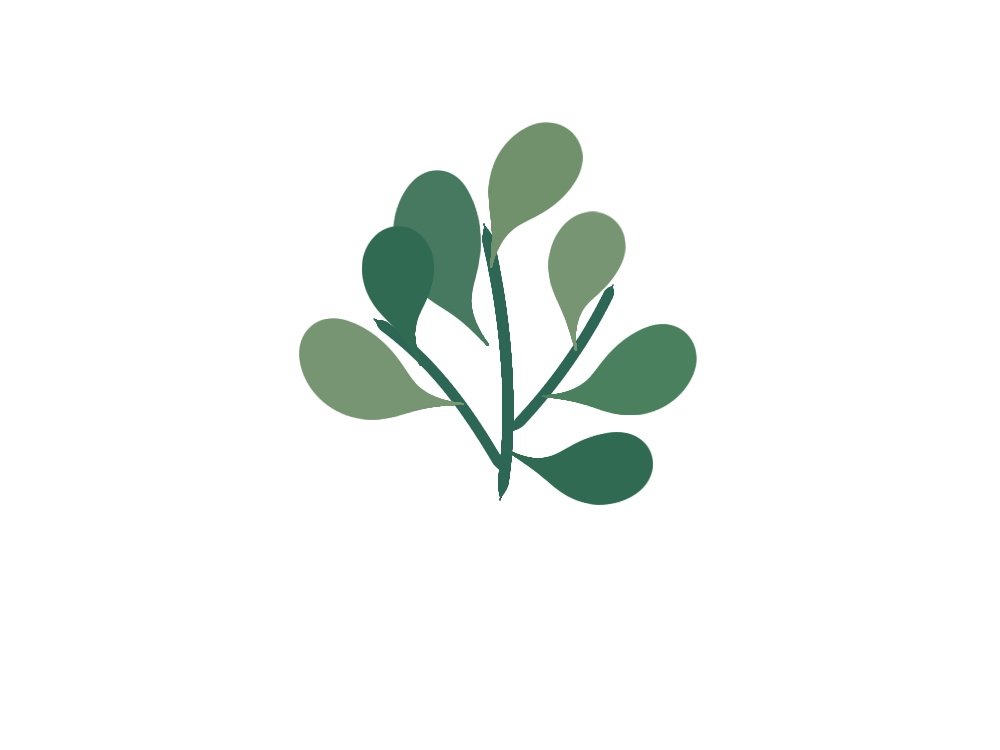
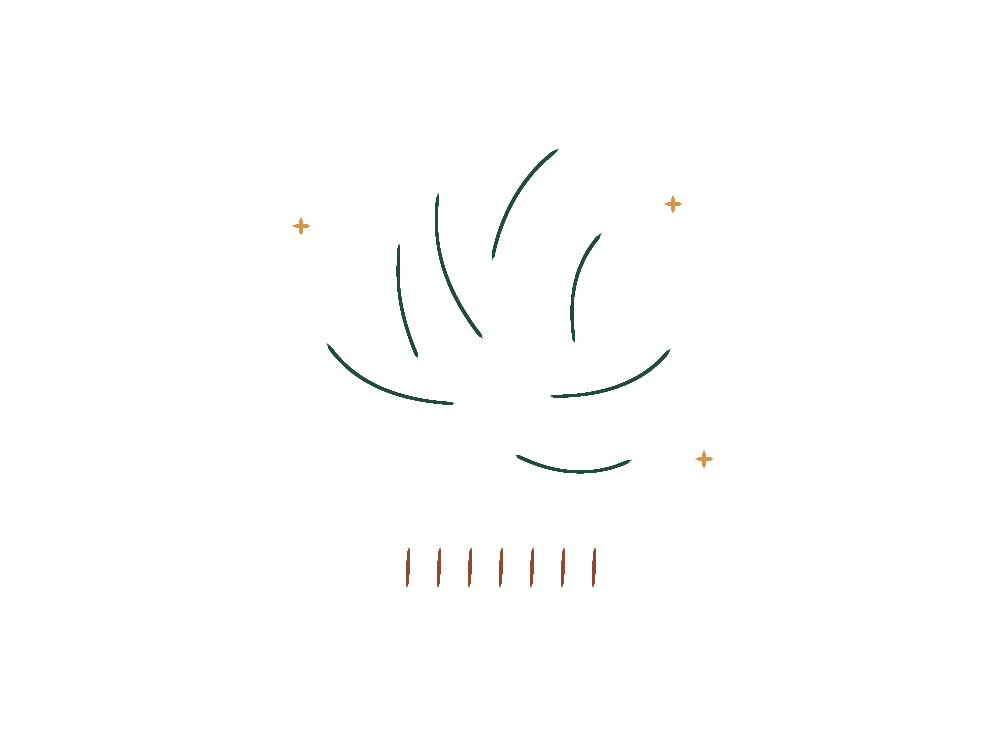
For the plant above, the pot, leaves and ink details live on separate layers. Hide the details to see the underlying shapes, or hide the pot to see exactly what belongs to the leaves. The canvas background is a separate color, so you can change it without painting over your work.
Build your first three-layer drawing.
Try this with your own sketch, or download the editable plant example. In the DrawingPad menu, choose Open .drawingpad file… to open it.
Start with the large shapes
Open Layers in the toolbar, select a layer and sketch the pot. Tap the selected layer again to open its options, then choose Rename and call it “Pot”.
Add the leaves above it
Use the + button in the Layers panel to add a layer. Name it “Leaves” and draw the stems and leaves. Keeping them separate lets you erase a leaf without erasing the pot underneath.
Put the finishing marks on top
Add an “Ink details” layer for leaf veins and the pattern on the pot. Use Lock in a finished layer’s options to protect its pixels while you work elsewhere.
Check the stack
Use the visibility checkboxes to inspect each part. Drag a layer by its handle, or use Move up and Move down in its options, to change which marks appear in front.
On a keyboard, Shift+N adds a layer, ⌘J (Ctrl+J on Windows and Chromebooks) duplicates the active one and Shift+Backspace deletes it; plain Backspace does too while the Layers panel is open. Alt+[ and Alt+] (Option on a Mac) select the layer below or above, and ⌘[ and ⌘] (Ctrl) move the active layer down or up. ⌘C copies the selection, or the whole layer when nothing is selected, and ⌘V pastes it back in place as a new layer, ready to move; you can also paste it into other apps. Every change can be undone.
Make shadows softer and colors work together.
Tap the letter beside a layer to open its options. Opacity fades the whole layer together. This is useful for a rough sketch you want to trace, or for a shadow that feels too strong.
| Mode | Try it for |
|---|---|
| Normal | Opaque color, clean line work and most everyday drawing. |
| Multiply | A shadow layer that darkens the colors beneath it. Lower its opacity for a gentler effect. |
| Screen | Highlights that lighten the layers below. |
| Overlay | An experiment with contrast and color. The result depends on the colors underneath. |
Duplicate a layer before trying a change you may want to compare. Merge down combines a layer with the one directly below it; keep separate layers if you still want to edit their parts independently. The available layer count depends on your canvas size and device limits.
Keep the project as well as the picture.
Choose Save as .drawingpad from the app menu to keep your layers, names, opacity and blend modes. You can reopen that file on another device and continue drawing.
PNG and WebP exports combine the visible layers into one image. They are useful for sharing a finished piece, but they do not preserve an editable layer stack. To reuse the plant without its cream background, follow the transparent PNG guide.
DrawingPad also autosaves locally in your current browser. Download a project file for a backup: browser data can be cleared, and local autosave does not sync between devices.