Before you start.
This cat is built from a few simple shapes, so it works with any tool: a stylus, a finger or a mouse. You will draw a light sketch first, clean outlines on top, and then the color underneath. Each step goes on its own layer, which makes mistakes easy to fix.
Want to see how it is put together? Download the layered cat and open it in DrawingPad with Open .drawingpad file… in the app menu. Hide and show the layers to compare each step, or trace it on a new layer to practice.
Step 1: Sketch two ovals and the ears.
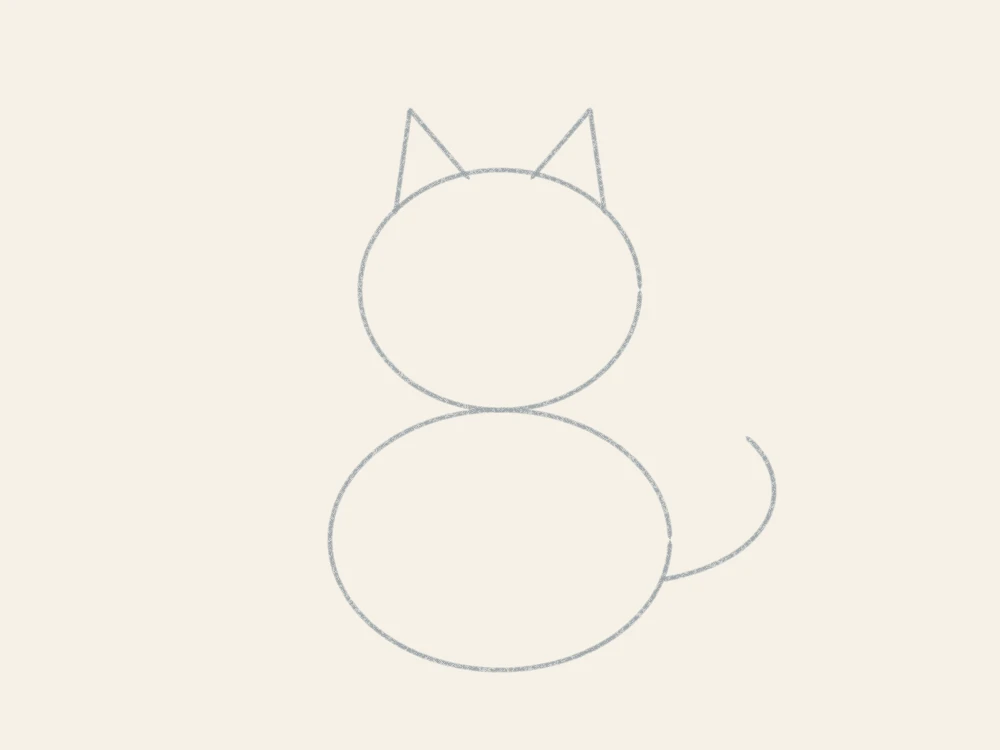
Choose the Pencil brush and a light gray. Draw a wide oval for the head and a bigger oval for the body, overlapping a little. Add two triangles on top of the head for the ears and a curved line from the side of the body for the tail.
Keep the sketch loose and light. These lines are only a guide; you will hide them later.
DrawingPad tip: draw a rough oval and hold still for half a second at the end: it snaps to a clean ellipse. Open Layers and rename this layer “Sketch”.
Step 2: Trace clean outlines on a new layer.
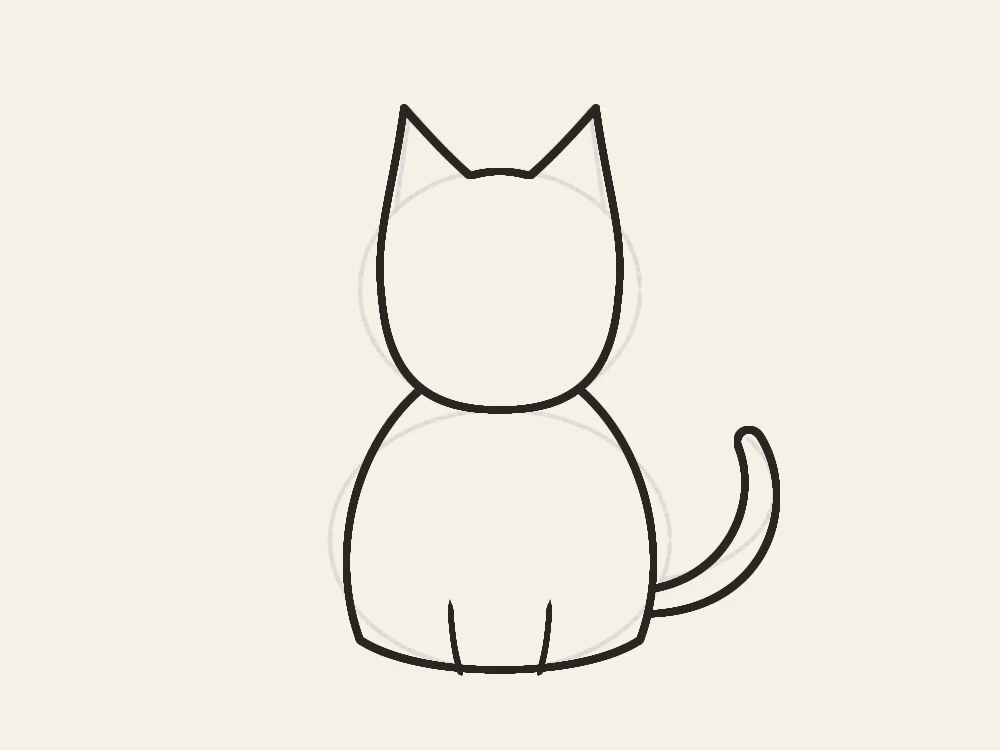
Add a new layer for the outlines with Shift+N or the + button in the Layers panel. Lower the opacity of the Sketch layer so it is just visible.
With the Ink Pen and a dark brown or black, trace one smooth line around the head that runs up into each ear. Then draw the body from under the chin, two short lines for the front legs, and a thick, curled tail. Close every shape completely; gaps would let the color leak out in step 4.
DrawingPad tip: raise Stabilization in the brush settings for smoother outlines, and zoom out to draw long curves in one go.
Step 3: Give it a face.
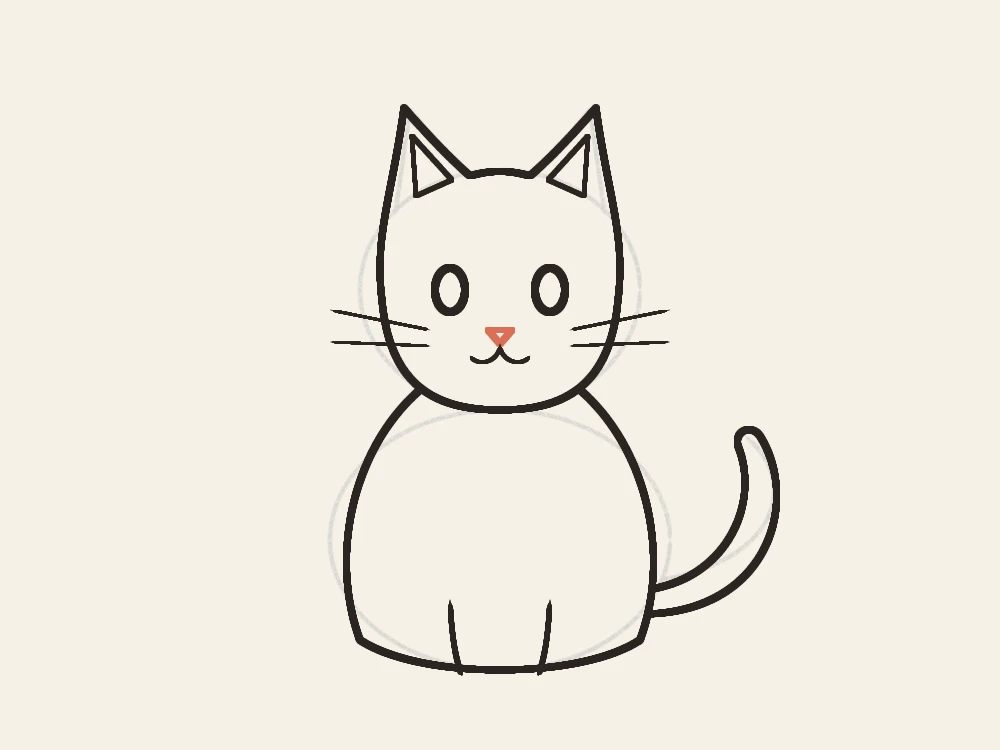
Still on the outline layer, draw two tall ovals for the eyes, a little lower than the middle of the head. Put a small triangle nose between them and a mouth shaped like a soft “w” under it. Add two or three whiskers on each side, then a smaller triangle inside each ear.
The position of the eyes changes the whole character: far apart looks cute, close together looks curious. Undo and try again until you like it.
Step 4: Color under the lines.
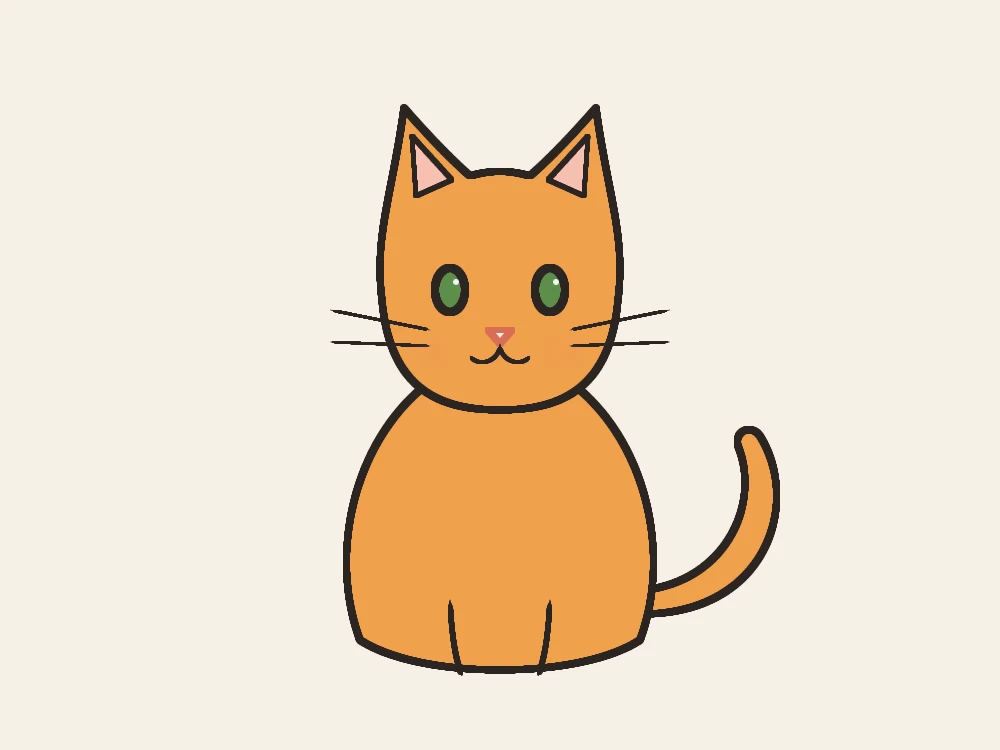
Add one more layer and drag it below the outlines in the Layers panel. Choose the Fill tool and open its options: turn on Sample all layers so it sees the outlines on the other layer, and Grow fill under lines so no thin gap is left at the edges. Hide the Sketch layer so it does not split the shapes.
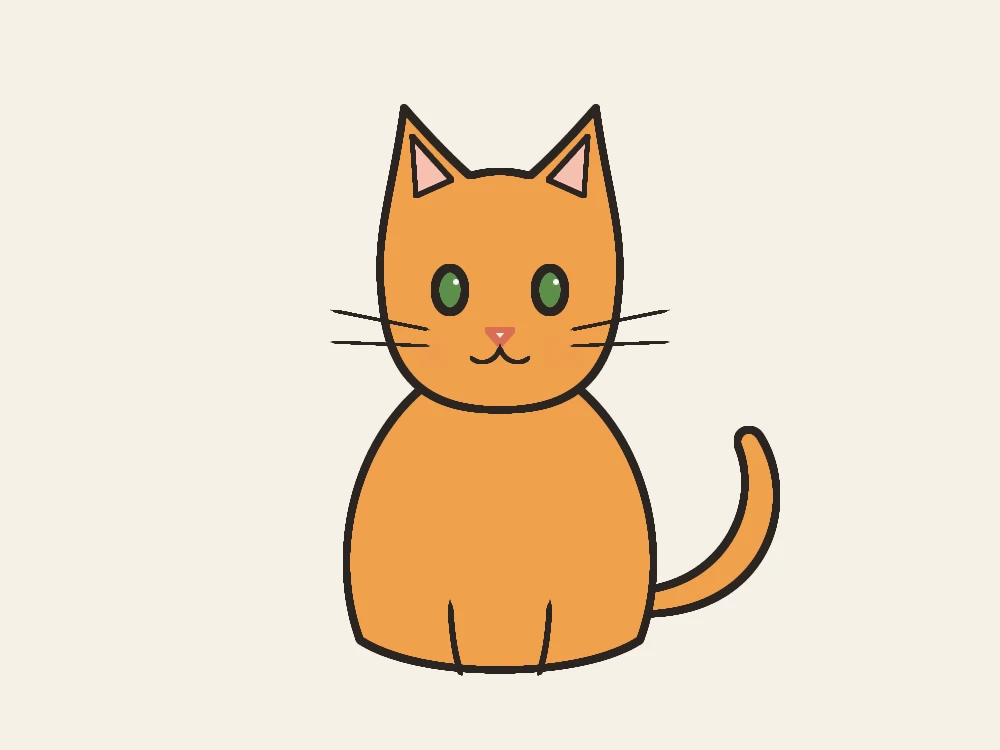
Tap inside the head, the body and the tail with orange, the inner ears with pink and the eyes with green. To finish, add a white dot in each eye and rosy cheeks with the Soft Airbrush at a low opacity.
DrawingPad tip: if the color spills outside a shape, undo, find the gap in the outline, close it on the outline layer and fill again.
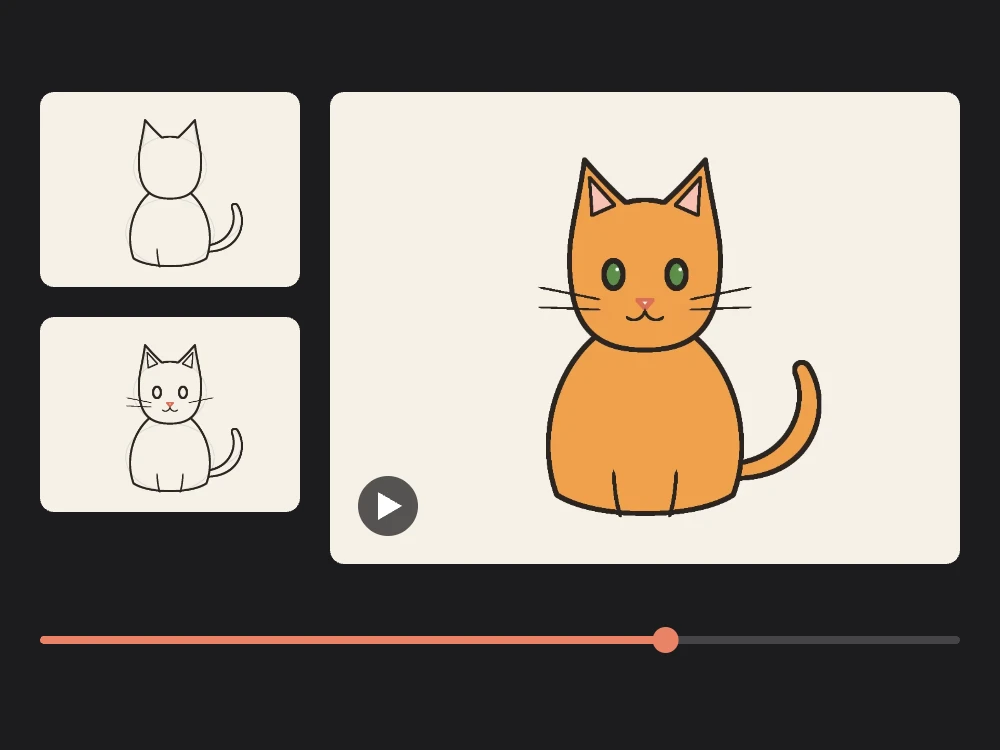
Watch the whole drawing in seven seconds.
Make it yours.
Once you can draw this cat, change one thing at a time:
- A sleepy cat: Draw the eyes as two small downward curves and tuck the tail around the body.
- A black cat: Fill the body with a dark gray instead of black, so the outlines and the face still show. Make the eyes yellow.
- A tabby: On a new layer above the color, add three curved stripes on the forehead and a few on the tail with a darker orange.
- A cat with a hat: Add a party hat between the ears, then a bow tie under the chin. Small props give a simple character a lot of personality.
Save your cat with Save as .drawingpad to keep the layers, or Export image… to get a PNG. Looking for the next thing to draw? Browse more drawing ideas.